Cloud Logo
Creating clouds in Photoshop seems to be quite popular these days, so in this tutorial I am going to be teaching you how to create a cloud logo for your site.
Step 1
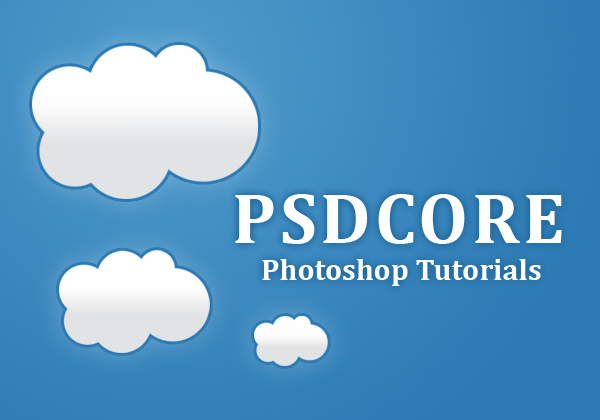
Firstly, we are going to be creating a new document. The dimensions I have used are 600 pixels wide and 420 pixels high. Fill in the background with a subtle radial gradient from #4d99ca to #2c7bb4.

Step 2
On a new layer use the ellipticial marquee tool to form a cloud shape. To add to a selection, hold down the shift key while selecting with a marquee tool.

Step 3
Fill your cloud selection with white. To fill a selection simply go Edit > Fill with the colour #ffffff. Line the cloud up in the center of the document if you want, but we’ll be duplicating it and such later on anyway.

Step 4
Now we are going to be adding some layer styles to our cloud. To adjust layer styles right click the layer and select blending options.
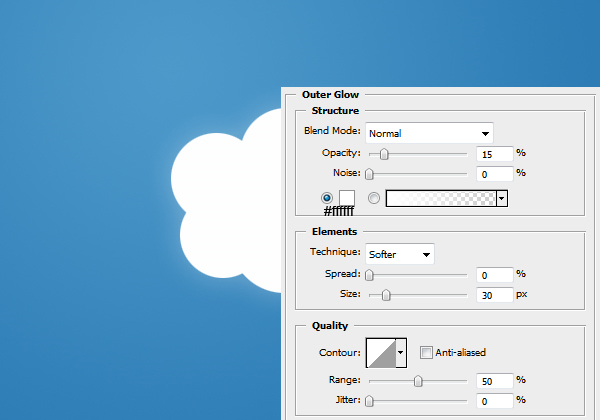
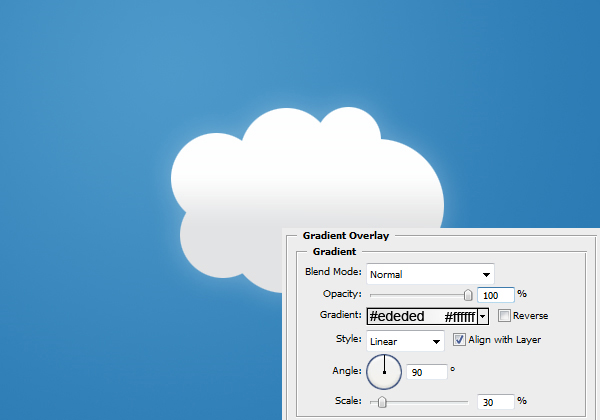
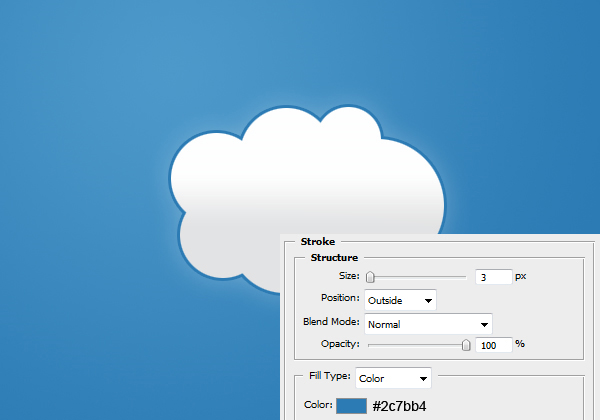
Result:

Step 5
Duplicate the cloud layer (Ctrl + J) and reduce the size of it (in proportion – so hold down the shift key). To transform the size of an object just go Edit > Transform > Scale or Ctrl + T. Move the clouds around until you have them in a position that you like the look of. Ensure that you have some space to stick the text to come though.

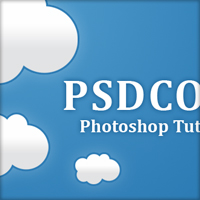
Step 6
Select the text tool and write the name of your site there. I’ve used one of the Vista fonts ‘Cambria’. I’ve also given the text a dark outer glow effect too.
Know how to easily and cheaply develop professional business cards you will be proud to hand out to potential customers.

I liked this tutorial.
good job
Thanks for your kind comment, it’s appreciated.
Great tutorial, easy to understand.
It’s very easy, but the effect is very beautiful
Hey that is a great trick! I never knew you could add selections with shift. Looking forward to more.
Thanks for your comments.
@Rufus: and to remove from selection hold down the Alt key – very handy because you don’t need to make another selection if you just need to add another little bit.
I like your idea…its simply but knowledgable..
‘Till to your next trick..
An excellent tutorial: clear and easy to understand and the result is attractive.
Thanks for your comments LEIDA and Utah :)
this is the best touturial of the week which is regarding by this person who designed it with hard work.
Thanks Muhammad :)
Simply superb!
Great logo and i love the cloud effect
you rock.. the site is simply stunning… I like to practice ur tutorials.. thanks a lot.. great work.. :-)
Thanks for the kind comment jeyaganesh ;D
Cool tutorial! It’s simple yet the end product is simply beautiful.
Love to see this tutorial.
This is really nice.
Thanks for the post.
My current turnout, I’m still editing it ;)
amazing tut thanks.
thanks a lot! Great tutorial!
thanhs for the post, i like it
Really Simple! good…..
i like this site.
thank you
pramila
This’s what called “Simple but Awesome” :D
thanks sharing your logo.