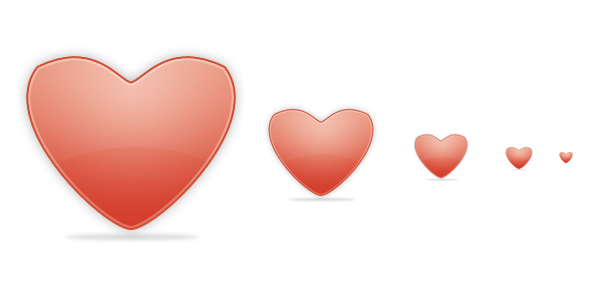
Heart Icon
Learn the basics of the pen tool and apply some finishing touches to create a heart.
Step 1
I’ll be creating a large icon to show off the details, but it’s more likely to be used at around 32 by 32 pixels.
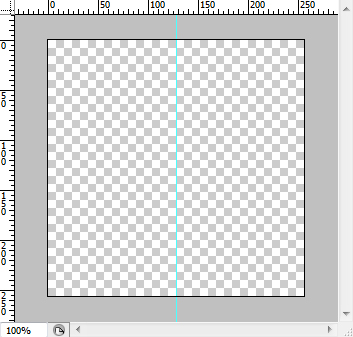
Set up a new document: my size is 256 by 256 pixels. Display rulers (View > Rulers) and drag a line over to the center so we know exactly where it is.
Step 2
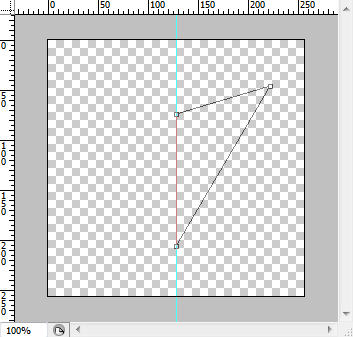
Select the Pen Tool (set on ‘paths’) and add three points. Make sure that the two on the left line up with our center line. Don’t be too concerned with the precise co-ordinates of these points as we will adjust them in the next step.
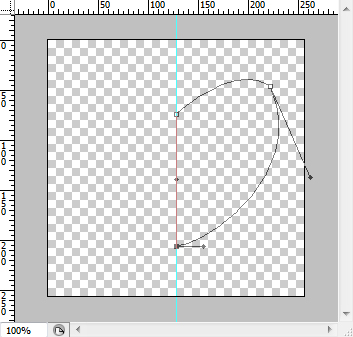
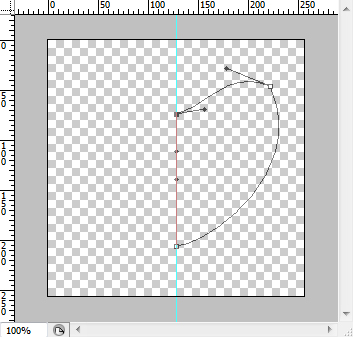
Step 3
Select the Convert Point Tool and move the points around if you wish. To form the curved shapes: click and drag the points. Two more points appear and you can now drag these to form asymmetric curves. The following three images are for each three points we made in Step 2. It may take a while to get the hang of the pen tool, so just play around with it for a while if you have time.
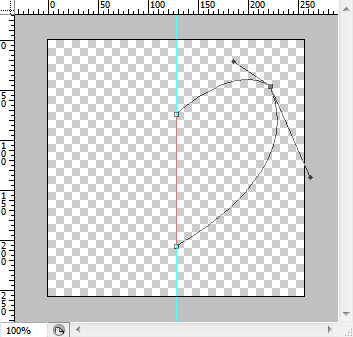
I’m sure you’ll come up with a better heart-shape than me, but you get the idea!
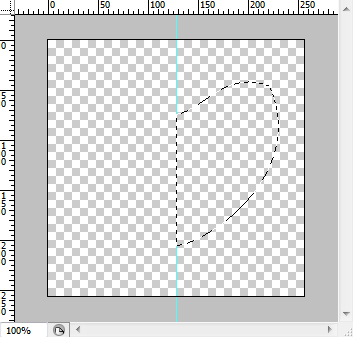
Step 4
Now we want to convert the outline to a selection: right click > make selection with no feathered radius.
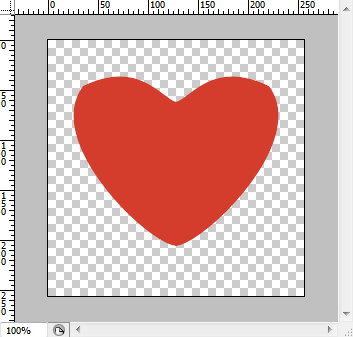
Step 5
Fill the selection with red. We now want to make the other half so duplicate the layer, flip horizontally and move over to the left of our original. Finally merge the two layers.
At this point you’ll probably find that you don’t like the shape of your heart and want to adjust the pen points slightly. Undo (Ctrl + Z) your changes to get back to the Pen Tool stage.
Step 6
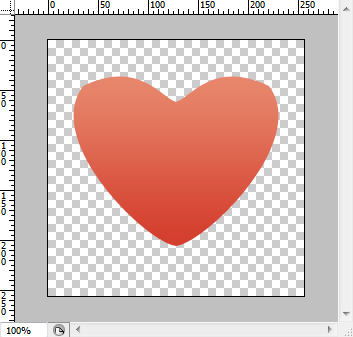
Now that we have the shape down we just need to add some finishing touches. We’ll start with adding a gradient overlay to our heart using layer styles. I’ve used a linear gradient from a darker red (#d43d2c) to a lighter red (#e7876c).
Step 7
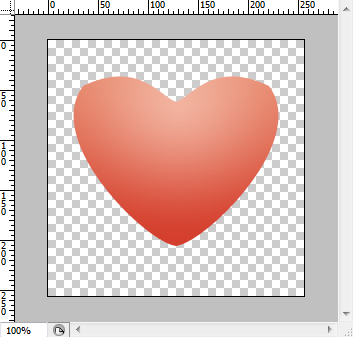
Next we’ll add a radial shine: I used the radial gradient tool from white to transparent and set my layer style to soft light. Read my tutorial on Shine Effects to add gradients if you’re having troubles. Remove the excess outside the heart by following my Delete Outside Selection quick tip.
Step 8
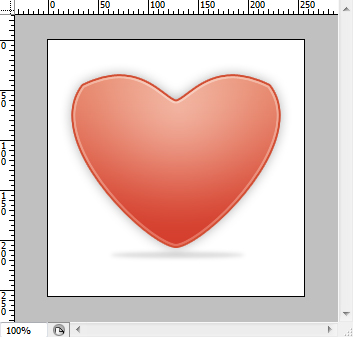
Now we’ll add a couple of strokes to our heart (the pun may have been intended…). The first one is as a layer style: 2 pixels dark red (#d24e33); definitely just one pixel if it’s for a small icon.
The next one is from selection, Edit > Stroke 2 pixels white (#ffffff), and set that layer style to soft light and 80% opacity.

Step 9
Lastly we’re going to work on the outer glows and shadows. I’ve applied a light outer glow using layer styles. For the shadow, I’ve used the Elliptical Marquee Tool to select almost a straight line underneath the heart, filled with black (#000000) and then applied a Gaussian Blur (two pixels) with 15% opacity.
Last Words
It’d be unlikely to require an icon this large. If you scale it down it may lose ‘crispness’ because the image is pixel-based; but Photoshop does a pretty good job of this as you can see below. Alternatively you can create icons on illustrator if you require many different sizes of the same icon. This was my first time trying out creating icons, so I hope you learnt as much about it as me :)