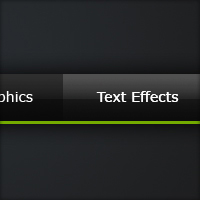
Sleek Dark Navigation
In this tutorial I am going to be teaching you how to create a horizontal navigation menu.
Step 1
Firstly create a new document – the size I’ve chosen to use is 600 pixels wide and 210 pixels high. Although if you are turning this into a web layout, you might want to have it larger. Fill the background with a dark radial gradient, I’ve used the two colours #282c30 and #1b1b1b.

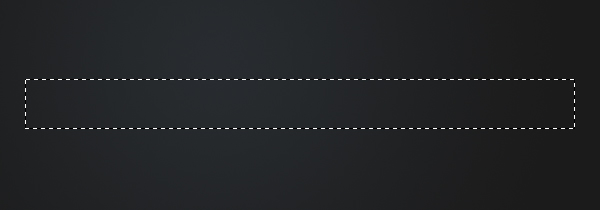
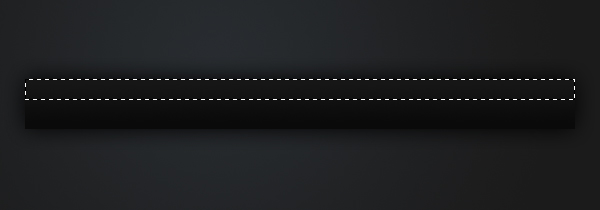
Step 2
On a new layer make a selection of 550 pixels by 50 pixels in the middle of the document. The easiest way to make this selection is to use the rectangular marquee tool and use the fixed size option.
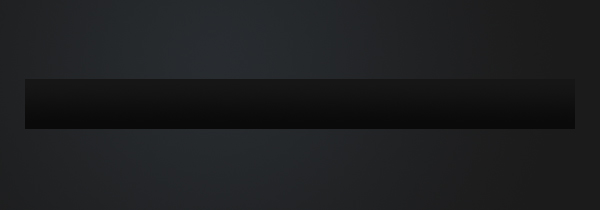
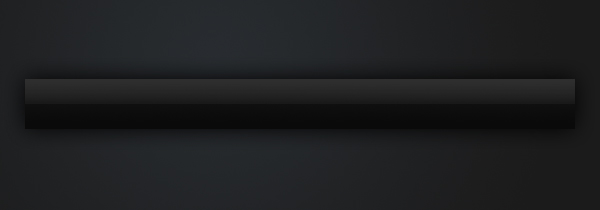
Step 3
Select the gradient tool and fill the selection from top to bottom with a linear gradient using the colours #161616 and #0a0a0a.
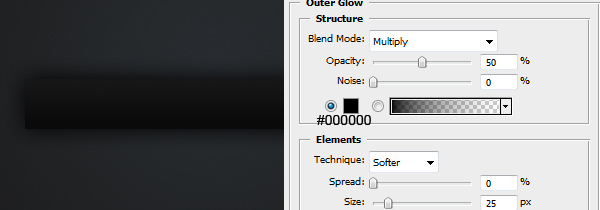
Step 4
Now apply an outer glow to this layer using these settings. Right click the layer and go blending options to adjust the layer styles.
Step 5
We are now going to be adding a shine effect to the navigation bar. On a new layer make a selection on the top half using the rectangular marquee tool (fixed size of 550 pixels by 25 pixels).
Step 6
Fill the selection with a linear gradient from white to transparent. Set the opacity to 10%.
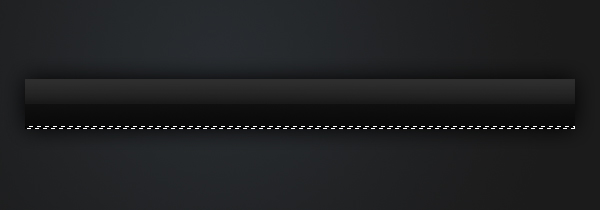
Step 7
Now we are going to be adding a highlight to the bottom of the bar to give it some colour. Make a selection of 550 pixels by 3 pixels at the bottom of the bar.
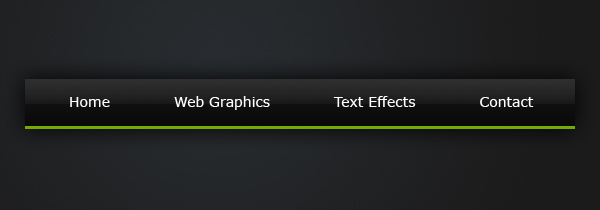
Step 8
Fill the selection with the colour #74ab00. To fill a selection simply go Edit > Fill with colour.

Step 9
Using the text tool add in some text to act as links. The font I’ve chosen for this is Verdana.
Step 10
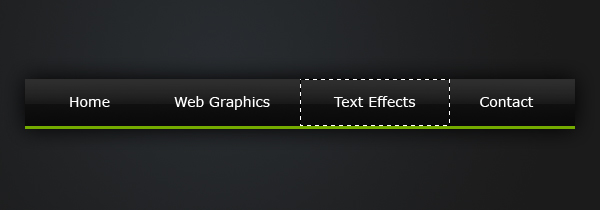
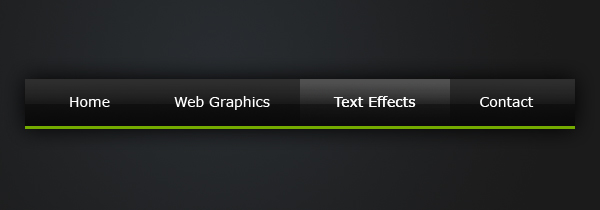
Lastly, we’ll be adding a hover effect for one of the links. Create a new layer. Using the rectangular marquee tool make a selection around one of the links.
Step 11
Fill the selection with a linear gradient from white to transparent. Set the blend mode to Overlay and the opacity to 75%. To learn how to turn this .psd file into an html file read this tutorial.

Great tut !!! =)
Thanxs
Thanks for your comment Sergio (:
Thanks for the tut! This is definitely useful.
Awesome tut! I linked to your tutorial too as a genuine link! =)
great tutorial. love the buttons…
Thanks for your comments :D
Very nice! Please, make a tuto, how to create a rollover with these buttons :)
Thanks for your comments.
@Romany4: if you know the basics of css/html then you can just make an unordered list and give the links backgrounds, and the hovered link the different background (slightly lighter).
Very nice man!!
Luka :P
2James: Hm… To be sure, it was guess:) No wonder, because I am a beginner. Thank you for your board
I somehow can make a navigation bar for my website, but how do I make it to HTML ? All these tutorial only shows how to make the pics.
At the end of the tutorial there is this link to the coding side.
thanks!!!! good tutorial :D
—-
we want more tutorials!!!! -> Web Layouts
More tutorials are coming, it just takes a while to make and I’ve got other things on. I’ve already made a few web layout tutorials, so I’ll try to make tutorials on the other topics, but there will be some more web layout tutorials this month.
Great tutorial!
Tnx!
Wow..this so great…tnx 4 the tutorial..i’m just 19 yrs of age and i want to be a web designer..so i am finding a site like this..i really lyk it..
veryy nice :)
thnx.
Thanks!! easy and nice
Thats one sharp looking menu. Top Job!
This tutorial was really helpful!
Thank you so much to share your knowledge! :D
Thanks for the tut! This is definitely useful.