
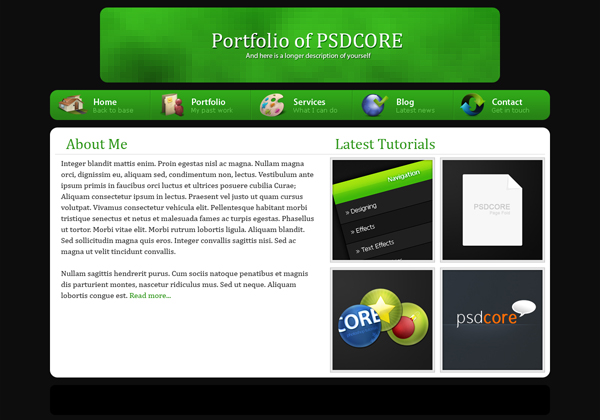
Portfolio Web Layout
In this tutorial I am going to be teaching you how to create a portfolio design from scratch to the finish. We’ll then be taking the design and code it to a html template to use on your new portfolio site.
This tutorial you will be creating a lot of layers so it will be a good idea to create folders and sub folders for each of the different parts of the layout. I won’t be telling you to create new layers every time I have created one so just make a new layer each time there is something new to put on – this is an ‘intermediate’ tutorial, you can manage it ;) With that out of the way… lets begin.
Step 1
Create a new document, the size I have used is 1200 by 840 pixels. Fill the background with the colour #0d0d0d.

Step 2
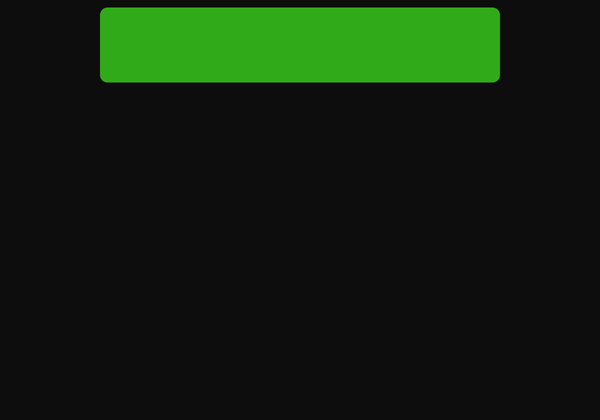
Using the rounded rectangle tool make a shape at the top center of the document 800 pixels wide and 150 pixels high with a colour of #31aa19 and a radius of 10 pixels. This is going to be the basis of our header.
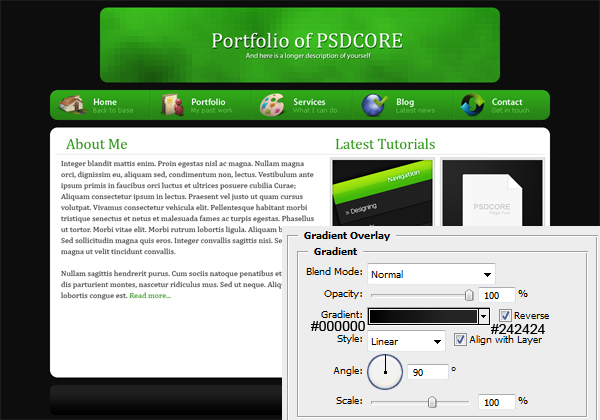
Step 3
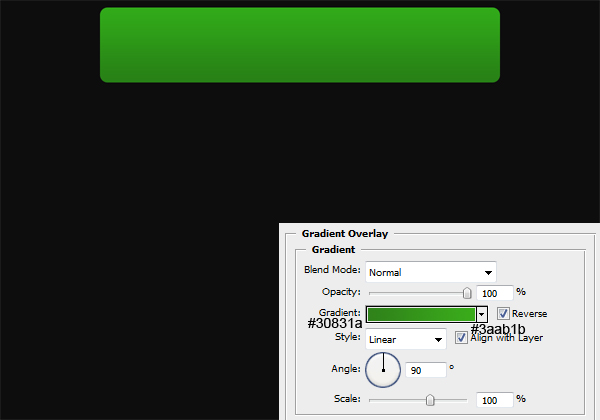
Now apply this gradient overlay setting to the header.
Step 4
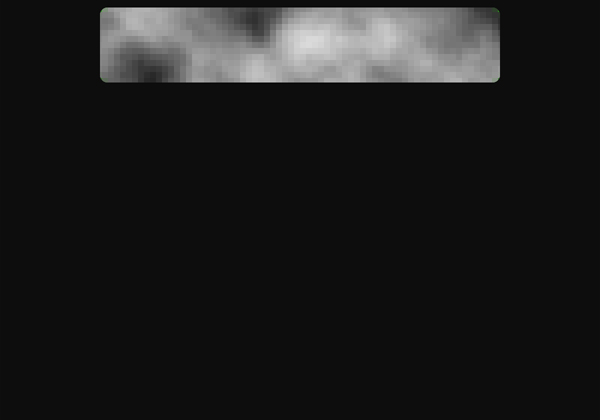
Now we are going to be adding some texture to the header to make it less boring ;) Firstly select the area of the header (on a new layer) and with the foreground colour set to black and the background colour set to white (the default colours) go Filter > Render > Clouds.

Step 5
Go Filter > Pixelate > Mosiac and set the cell size to 12.
Step 6
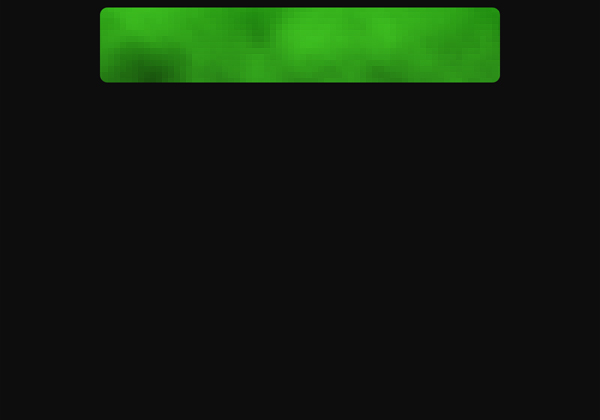
Set the blend mode to overlay and the opacity to 50%.

Step 7
To define the edges a bit better (if you want to) go Filter > Sharpen > Sharpen. Repeat this step until you have a desired effect.
Step 8
Using the text tool add in the name of your portfolio site. The font type I have used here is Cambria.

Step 9
Apply this drop shadow effect so that the text stands out a bit better against the header.
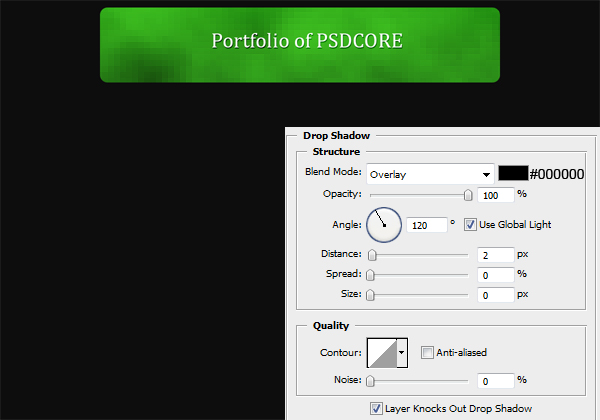
Step 10
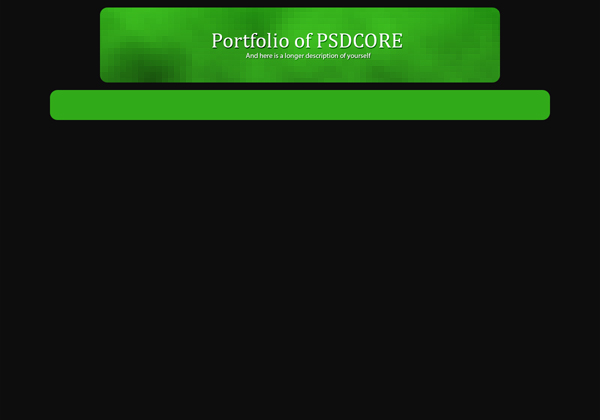
Add some smaller text below the title and add the same drop shadow except with a distance of only 1 pixel. And that’s the header complete.

Step 11
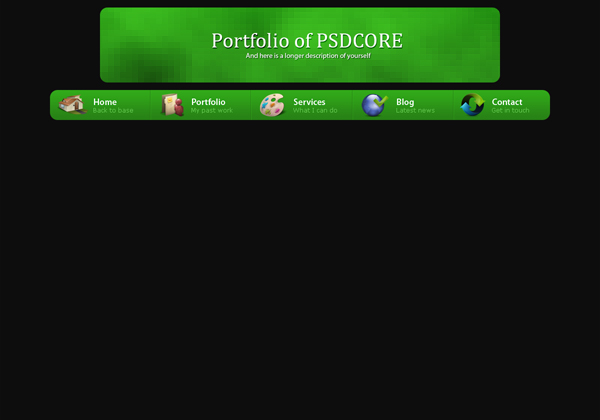
The next part of the layout is the navigation. Below the header (10-20 pixels space), using the rounded rectangle tool, create a rectangle 1000 by 60 pixels – with the same 10 pixel radius and #31aa19 colour.
Step 12
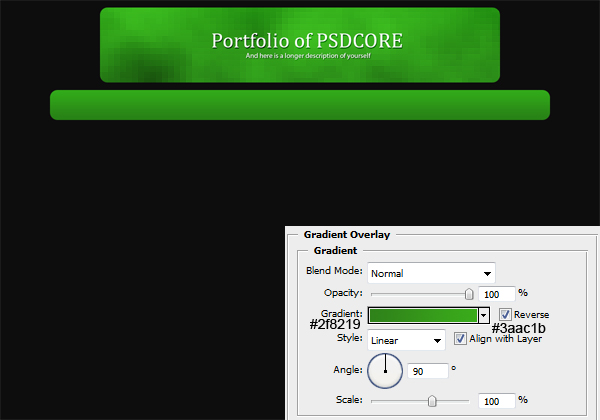
Apply this gradient overlay to the navigation background.
Step 13
Select an icon for your home button, I am using icons from the dellipack available from smashingmagazine for free.
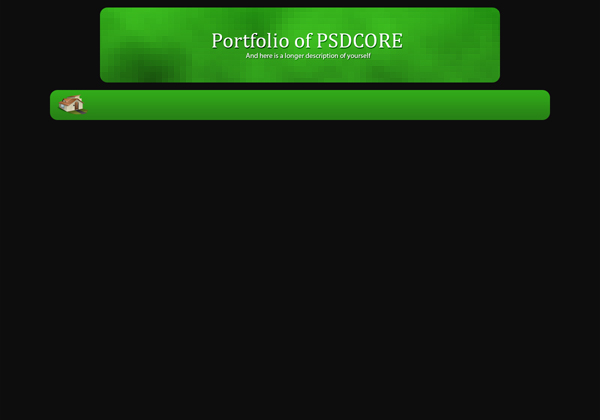
Step 14
Using the text tool add in the name of the link – in this case ‘home’ (white) and also some text underneath (#69cf54) in a smaller font.

Step 15
Now we are going to be adding a divider on the right hand side (which will be between each of the buttons). Make a one pixel wide selection with a height of 60 pixels and fill with the colour #257d14. Move the selection to the right by one pixel and fill with the colour #33ac1b.

Step 16
Repeat this process for the rest of the links you want for your portfolio site.
Step 17
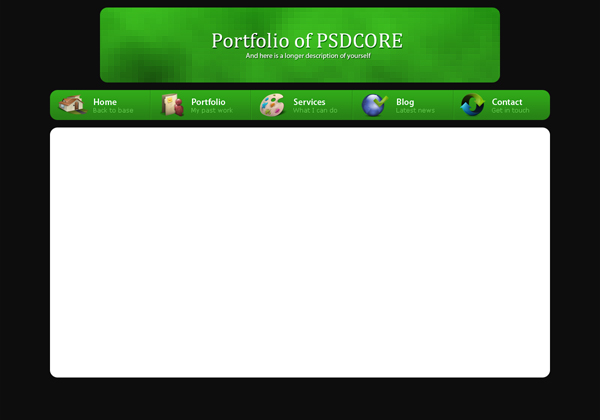
The next section of the layout is the content area. Using the rounded rectangle tool again, make a rectangle 1000 by 500 pixels below the navigation – this time with the colour white.
Step 18
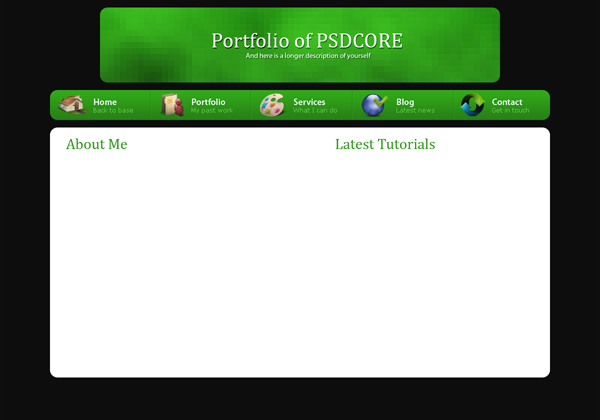
Using the text tool add in a couple of titles for content sections. The font type I’ve used here is Cambria and the size is 30 pt.
Step 19
Create a selection 980 by 1 pixel using the rectangular marquee tool below the two titles and fill with the colour #dadada. This is just a faint underline below the headers.

Step 20
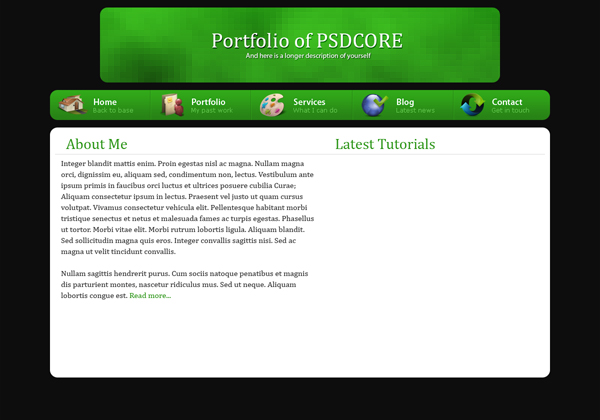
Either add some dummy text for the about me section for now or add in some information about yourself.
Step 21
Now add some images of your latest projects – I’ve just added my four latest tutorials I’ve written.

Step 22
Our last part of the tutorial is on the footer. Using the rounded rectangle tool make a selection of 1000 by 60 pixels below the content box – the time the colour is #000000.
Step 23
Apply this gradient overlay to the footer background.
Step 24
Lastly add some text in the footer and you have completed the design of your portfolio. To turn the design into a html template to use for your portfolio site follow the coding side of this tutorial.

Learn web design tutorials with free expert psd tutorials!

thanks very good
Don’t like the header and footer, but appart from that it looks really really good!
hey, so really good, thnx:)
Thanks for your comments.
@STVProductions: Yea I was unsure how to go about the header. As for the footer I think it should be how it is (simple).
excellent !
the overall looks good.
thanks for the step by step instruction, just nice i needed something like that.. =)
Thanks FerTwo & hate0ver for your comments (:
Why green
Why do you use green
you fail
:D
Green is a nice colour steven :P
You can use your teal colour if you want to!
Simple but very effective! I like it a lot.
Very nice and easy tutorial .
you always make good tutorials
I love you’re work :D
Just carry on *THUMBS_UP*
I like this James.. :D
Thank’s
now how to make those dummy elements (text etc.) real html?