
Simple Professional Logo
This tutorial is aimed at someone learning the basics of Photoshop. I’ll be teaching you how to use a couple of basic tools and techniques to create a simple yet professional looking logo.
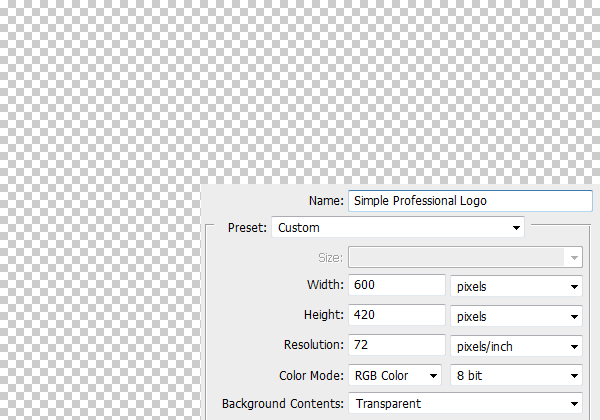
Step 1
Firstly, we are going to be creating a new document. Go File > New and use the settings below and hit enter. You should end up with a new document with light grey and white squares in the background.
Step 2
We are going to be filling our background with a radial gradient. Select the gradient tool from the tools window and set it to radial (at the top). Set your foreground colour to #2f373f and background to #282c30. Left click in the top left quarter and drag to the bottom right and release.

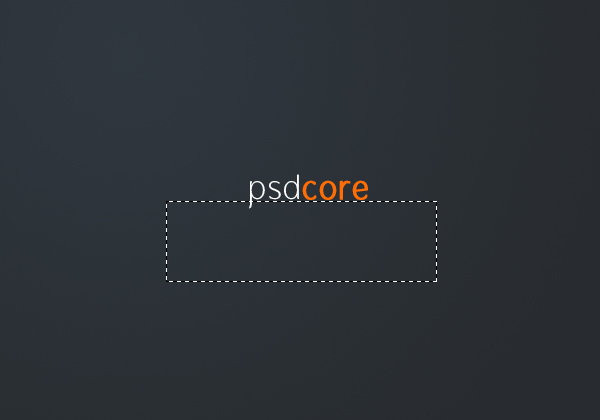
Step 3
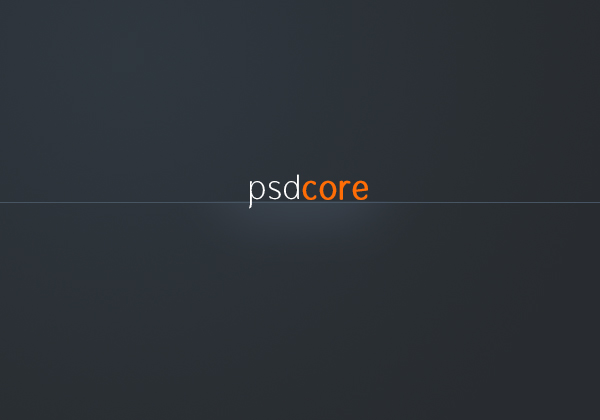
Thirdly, we are going to be adding the text of the logo. Select the text tool and click in the middle of the document (this creates a new text layer for you) and type out the name of your site. The font I have used is ‘Gauntlet Thin‘ (white) & ‘Gauntlet Classic‘ (bold and the colour is #ff6d06). This text effect is just a simple two tone effect but looks clear and professional.

Step 4
Now we are going to be adding a subtle gradient underneath the text. Create a new layer (Layer > New > Layer) and make a selection like this using the rectangular marquee tool. Move this new layer beneath the text layer so it does not overlap.
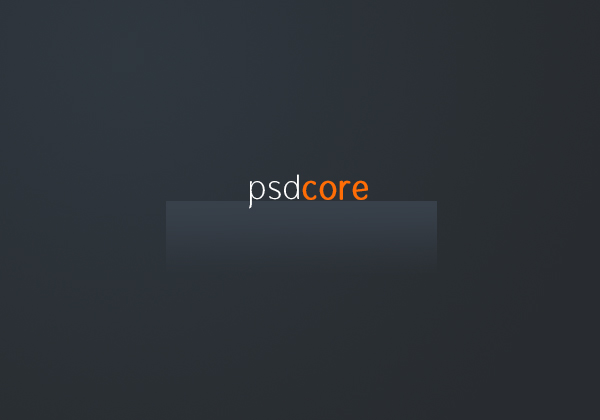
Step 5
Select the gradient tool and set it to linear this time. Set the foreground colour to #38404a and set the gradient to ‘foreground to transparent’ – this is a default preset. Fill the selection from top to bottom with this gradient so you have something like this.
Step 6
Using a large soft brush (200 pixels) erase the left and ride sides of the gradient.

Step 7
On a new layer make a selection one pixel down from the top of the gradient we just made using the single row marquee tool. This tool makes a selection one pixel high, and the width of the document.
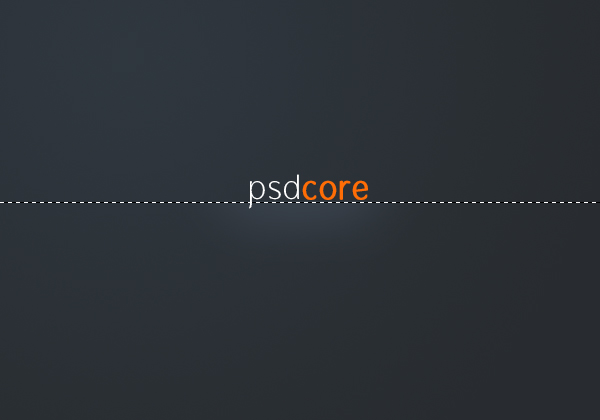
Step 8
Fill this selection with the colour #
 475563. To fill a selection simply go Edit > Fill with colour.
Step 9
The highlight line is currently taking up the entire width of the document, and we only want it to be underneath the text so select the area of the gradient layer (Ctrl + Click the gradient layer’s icon). Invert selection (Select > Inverse) and remove (delete on the keyboard) – this deletes everything outside the gradient on the highlight layer. Make sure you have the highlight layer selected when you hit delete (because it will only remove everything in that selection on the layer selected).

Step 10
Next we are going to be adding a little talk shape. On a new layer select the custom shape tool and make sure it’s set to shape layers and the colour is white. Select the ‘talk 2’ shape and make a shape to the top right of the text.

Step 11
Lastly we are going to give the talk shape a bit of shading so on a new layer select the area of the talk shape (Ctrl + Click layer icon like before) and contract the selection by a couple of pixels (Select > Modify > Contract).

Step 12
Select the gradient tool and fill the selection with a black to white gradient from the bottom left corner (so the black side is there).

Step 13
Lower the opacity to 20% and you are finished! Or may take a look for more RipeConcepts logo design portfolio.


am new to the world of editting so this tip will come handy to beginners like myself. thanx
very nice, clean and simple. good work!
Another tip, if you use fonts, or any other kind of rescources, link to them so people can easily find them ;-)
Really nice. :]
Thanks for your comments.
I’ve added a link to where I got the font from in the tutorial. A great resource for free fonts is at dafont.com.
thanks a lot man! its easy, simple and yet very catchy! make some more tutorials and you’ll earn a lot of credits! thanks again man! more power and God bless!
Your welcome, and yes there are more tutorials on the way.
nice!
Really good tutorial! Thanks!
Nice Logo Lesson
LOVELY TUT!
Nice!
Nice =]
Very very nice, lots of ideas!
Thanks for the great comments :D
What alot of people dont understand is how amazingly helpfull these tutorials are to web designers in the making, not only that but the site is clear easy to navigate and not full of retarded ads. Fantastic work james keep it up.
Thanks David for your kind comment, it means a lot :)
ive got this but to get the effect of the fade easyier use a layer mask and use a 20px black brush
instead of eraser tool
http://www.crystalxp.net/forum/mesimages/298907/carwash.png
Really helpful and great design.
I couldn’t figure out how to set the gradient “foreground to transparent”. Would you be able to help me??
Cheers
Thanks. Select the gradient tool and at the top left of Photoshop you’ll see the gradient (by default from the foreground to background colours), click the arrow beside this gradient and select the second one (“Foreground to Transparent” when you hover over it).
Thanks a lot for this tutorial James! It helped me quite a bit. The only problem I have is the line that you made. The step where you said to select both layers, select inverse, and then hit delete and the line should appear the way it does in your pic. Every time I hit delete, nothing happens. I’ve selected inverse and selected both layers and nothing happens. Can you offer me some help on this please? I’m very interested in this.
Thank you!
If you’re having trouble with the method listed in the tutorial, select the layer with the one pixel line and with the erase tool set to a soft brush (100 pixel or so), erase the sides of the line until the desired effect is achieved.
Hope that helps :)
Simple and yet very useful tutorial. Love the concept! Thank you!
Muchisimas gracias por el tutorial!
Muy claro y facil de entender…