
Clean Two-Level Navigation
In this tutorial I’ll be teaching you how to make a ‘web 2.0’ styled navigation with a second row of links for the sub-links.
Step 1
First off, we need to make a new document; I’ve made a relatively small one for the purpose of this tutorial (600x420px) but yours will probably be for a web design (1000px or so wide).
To make the background less boring I’ve just added in some clouds (foreground and background colours: #33556e and #1e2a38) and applied a motion blur; both are accessible through the Filter menu.

Step 2
Now we’ll make the main, white bar. Select the Rounded Rectangle Tool with a radius of 10px and a fixed size of 550x65px (or wider if your web design wants it). The colour doesn’t matter at this point as we’ll quickly change that. You’ll most likely want it centered so check out this tutorial on aligning objects.

Step 3
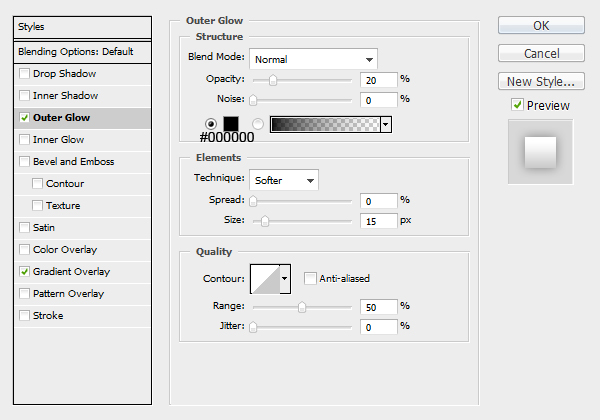
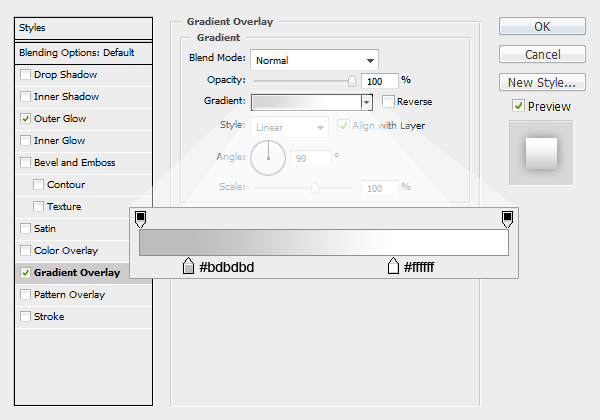
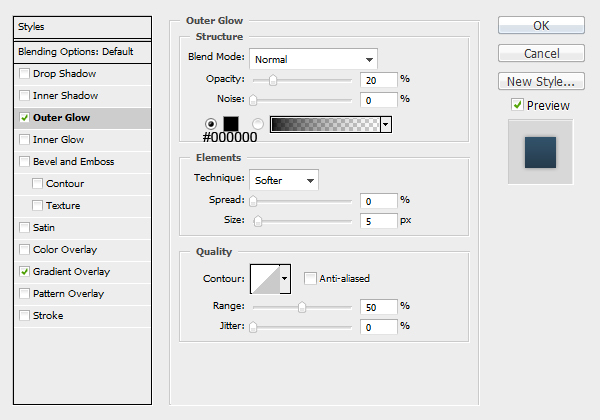
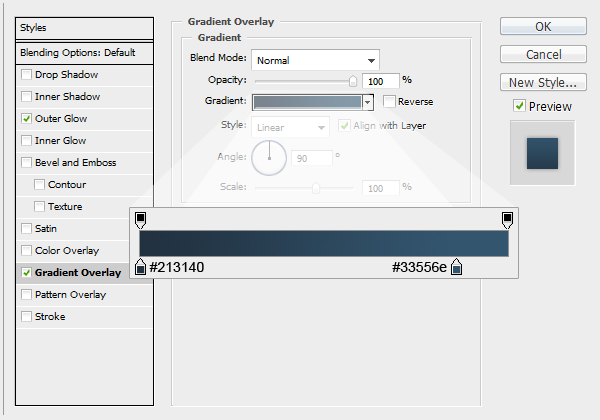
Add an outer glow and a gradient overlay to this latest white bar layer.
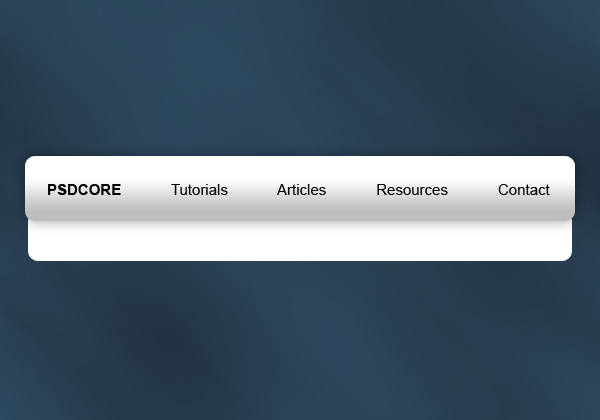
Product:
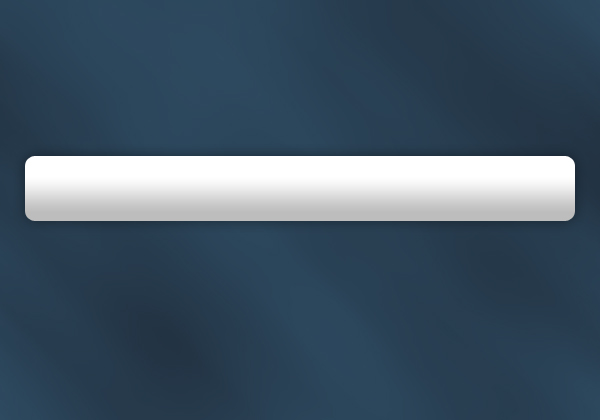
Step 4
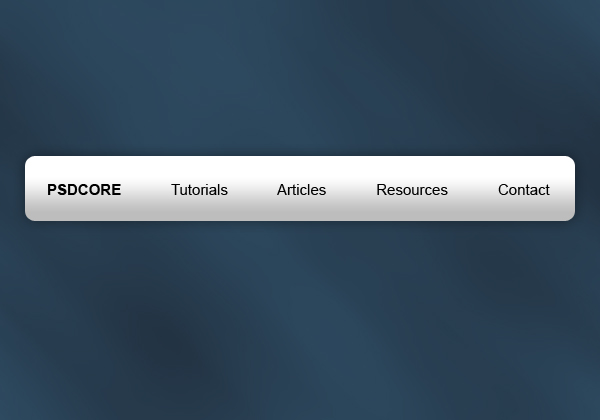
Chuck in some text with the text tool for your top level navigation. The font I’ve used is Arial, Regular (and Bold), 15pt, Sharp, #000000.
Step 5
Now for the second bar, using that Rounded Rectangle Tool again make a selection a few pixels shorter in width with a height of 50 pixels. Move this new bar layer underneath the white one (in the layers window).
Step 6
Apply these outer glow and gradient overlay settings:
Product:
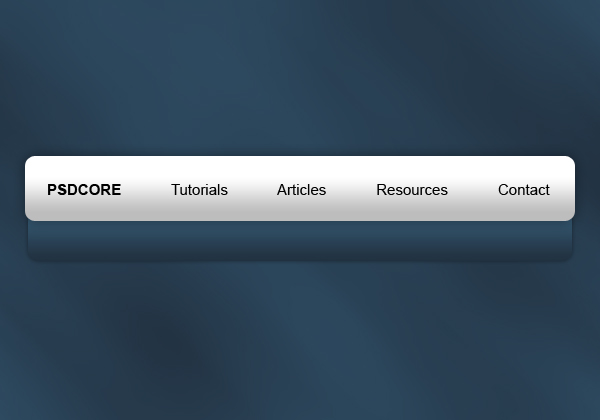
Step 7
Lastly, add some text for the sub-level navigation (I’ve put in some links for the Tutorials pages). The font I’ve used for this is Arial, Regular, 15pt, Sharp, #7ca1bc. If you’d like to now learn how to code this into html/css then read this tutorial.
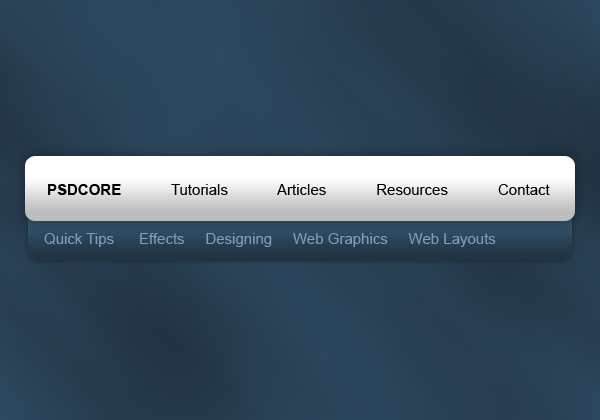

Thankyou a lot James
this is a nice and simple tutorial now there’s only the second part remaining :D